Flutterで横スクロールみたいな、流れる背景がつけたいなと思い、
いろいろ調べてみたときの備忘録(*´ω`*)
できたのはこんな感じ。
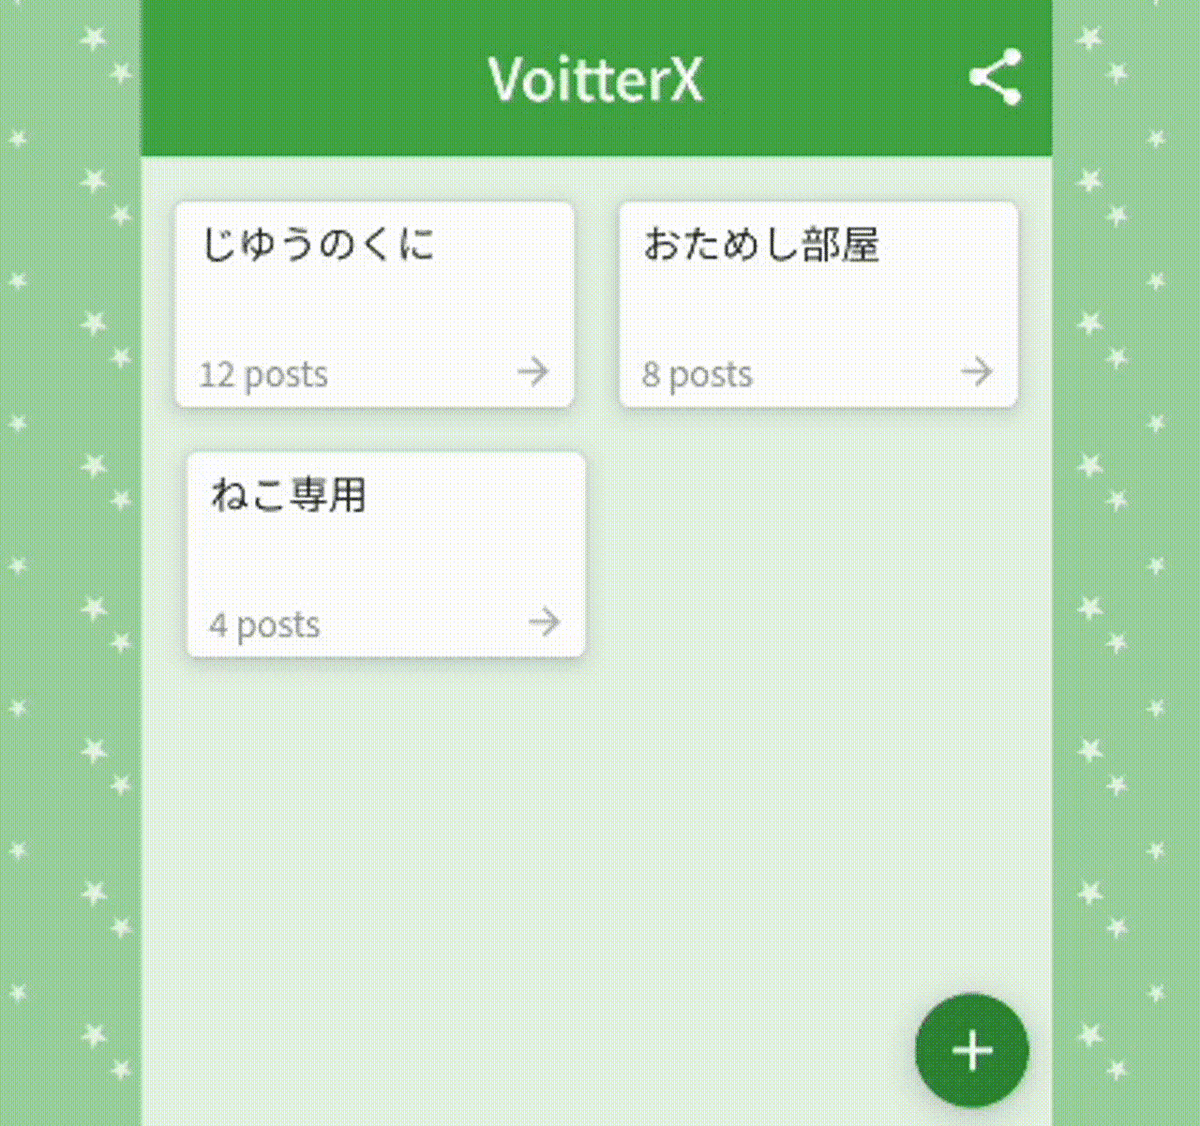
このアドカレで作ったアプリで使っているやつ
つくりかた
基本はこの2つを使う感じ。
- OverflowBox class - widgets library - Dart API
- 親Widgetよりも大きなサイズにするときに使う
- AnimationController class - animation library - Dart API
- アニメーションを動かすときに使う
Scaffoldを含むベース部分
ベースとなる部分はこんな感じ。
Stackを使って、背景(AnimBackground)とScaffoldを重ねる感じ。
import 'package:flutter/material.dart';
import 'package:hooks_riverpod/hooks_riverpod.dart';

class AppLayout extends HookConsumerWidget {
  const AppLayout({super.key, required this.child});
  final Widget child;

  @override
  Widget build(BuildContext context, WidgetRef ref) {

    // Stackを使って、背景とScaffoldを重ねる
    return Stack(
      children: [
        const AnimBackground(),
        // ScaffoldはmaxWidthを指定して中央寄せ
        Align(
          alignment: Alignment.center,
          child: ConstrainedBox(
            constraints: const BoxConstraints(maxWidth: 320),
            child: Scaffold(
              appBar: AppBar(),
              body: child,
            ),
        ),
      ],
    );
  }
}
動く背景の部分
背景の部分はこんな感じ。
AnimationControllerは、0.0〜1.0の値を返してくれるので、
Transform.translate(offset: )を使ってずらしていく形。
右上から左下に1画像分だけ流れるようにするので、
縦幅と横幅を1画像分増やしている。
増やしている分、親Widget(=画面サイズ)を超えてしまうので、
OverflowBoxを使って、はみ出しても大丈夫なようにする。
useAnimationControllerのdurationを変えることで、
0.0〜1.0になるまでの速度を変えることができるので、
早くしたり、遅くしたりはこのあたりを変更すればOK
import 'package:flutter/material.dart';
import 'package:flutter_hooks/flutter_hooks.dart';

class AnimBackground extends HookWidget {
  const AnimBackground({super.key});

  @override
  Widget build(BuildContext context) {
    const second = 30; // sec;
    const imageSize = 200; // 200px: 画像のサイズ

    // 指定秒数のAnimationControllerを作成
    final animationController = useAnimationController(
      duration: const Duration(seconds: second),
    );

    // AnimationControllerをセット
    useAnimation(animationController);

    useEffect(() {
      // アニメーションの開始を1度だけ実行
      animationController.repeat();
      return () {};
    }, const []);

    // 親よりも大きいサイズを指定するため、OverflowBoxを利用する
    return OverflowBox(
      // 一巡したら戻るように、画面サイズ+画像サイズに設定
      maxWidth: MediaQuery.of(context).size.width + imageSize,
      maxHeight: MediaQuery.of(context).size.height + imageSize,
      // 中央寄せのため、上下左右の画像サイズの1/2を開始地点とする
      // animationController.value=0: x=imageSize / 2, y=-imageSize / 2
      // animationController.value=1: x=-imageSize / 2, y=imageSize / 2
      child: Transform.translate(
        offset: Offset(
          imageSize / 2 - animationController.value * imageSize,
          -imageSize / 2 + animationController.value * imageSize,
        ),
        child: Image.asset(
          'images/1.png',
          scale: 4,
          // 画像のサイズは親Widget(OverflowBox)に合わせ、
          // ImageRepeat.repeatで繰り返しで表示する
          repeat: ImageRepeat.repeat,
          width: double.infinity,
          height: double.infinity,
        ),
      ),
    );
  }
}
以上!! 無駄にファンシーな感じになった(*´ω`*)